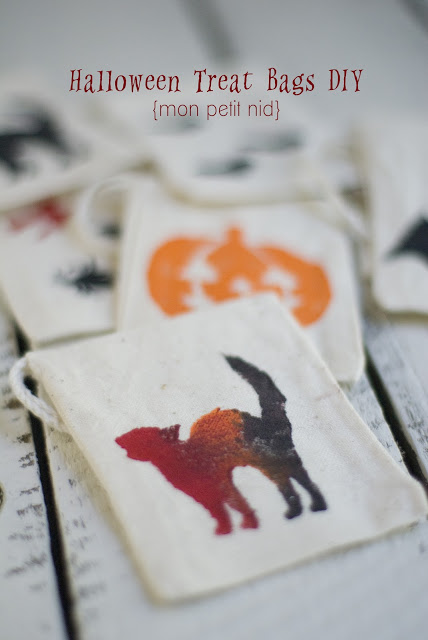
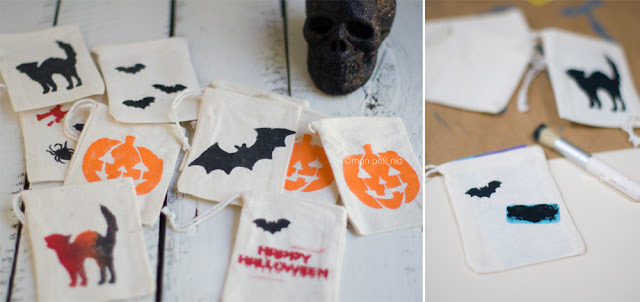
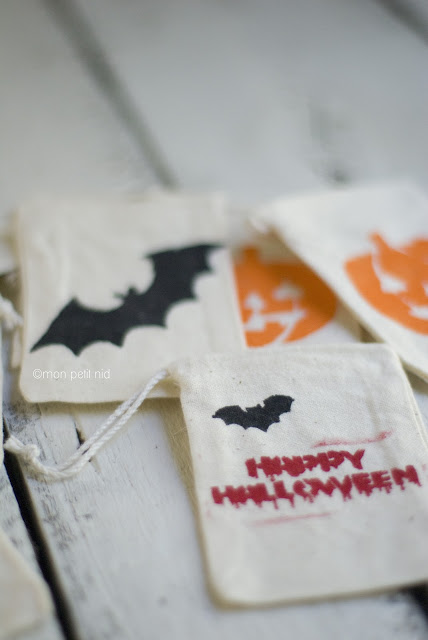
For our Halloween party this upcoming weekend I wanted to do something special for our guests & their little monsters. We will have a scavenger hunt, yummy bites {some good for you, others not so much}, & these itty bitty treat bags for the ghosts & goblins to take home. The scavenger hunt will have fun toys for the taking… so where’s the candy!?! Why, in these handy~dandy bags, of course!
When I bought these bags, I initially thought they were twice the size. I was surprised when I opened the bag & pulled out something much, much smaller! I was relieved, actually. Smaller the bag, the less candy needed to fill ’em up! I am sure parents will thank me later. {And no, I did not pay attention to the size on the bag… Why would anyone do that?!}
What you’ll need:
scrap paper
muslin bags
paint
stencils
sponges, brushes, toothpick/chopstick {yes, I used a chopstick}
Here’s how:
1} Paper~ Cut your scrap paper down to a size that will fit inside the bag. This will keep your paint from seeping through to the other side. Unless you want that effect, but then they’re stuck to one another.
2} Stencil~ Pick a stencil, any stencil! I used Martha Stewart’s Holiday Icons set & Holiday Icons II Adhesive set {the second set is smaller}.
3} Paint~ Carefully hold your stencil down/place the adhesive stencil on your bag. Blot your fabric with paint of your choosing. The smaller stencils are just that. SMALL! So it’s pretty easy to get outside of the “designated” area. For other projects, I have placed tape around the edges to prevent any mistakes.
4} Clean & repeat~ You don’t have to wait for the paint to dry. Lift carefully & place stencil back on a clean surface {I used the paper you see in the photo above}. You will want to wipe your stencils off after each use. This will prevent your fingers from getting paint on them & transferring it to places you don’t want painted! Also, don’t forget to clean your brushes/sponges when you’re finished…
5} Minor details~ For the more detailed stencils like the spider & witch, I used the tip of a chopstick to dab the paint. My brush bristles just weren’t getting the job done & I knew I would mess up & paint outside of the stencil if I tried too hard.
6} Voila~ Let dry & you’re done!
Hope you’re having a Wonderful Wednesday! Happy bag making!
XOXO


